Vanilla Wafer Pie Crust Recipe
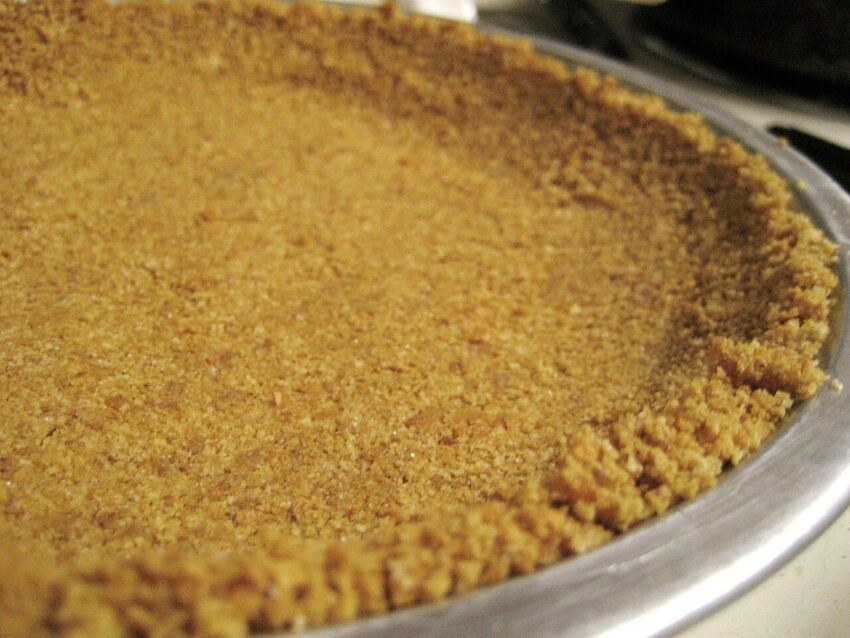
Our no-bake vanilla wafer pie crust recipe is easy to make and provides a great base for many desserts including banana cream pie, chocolate pudding pie, or any no-bake cheesecake. It’s perfect for any occasion, and sure to become a beloved staple in your kitchen!
How To Make Vanilla Wafer Pie Crust
Ingredients
1 1/2 cups vanilla wafer crumbs (about 50 Nilla wafers)
1/4 cup granulated sugar
1/2 cup unsalted butter, melted
Pinch of salt
Equipment
Food processor or rolling pin and zip-top bag
9-inch pie pan
Mixing bowl
Measuring cups and spoons
Spatula or the back of a spoon
Method
1. Make the Vanilla Wafer Crumbs
Place the vanilla wafers in a food processor and pulse until finely crushed.
If using a rolling pin, place the wafers in a zip-top bag and crush them until you have fine crumbs.
2. Combine Ingredients
In a mixing bowl, stir together the vanilla wafer crumbs, granulated sugar, melted butter, and a pinch of salt until evenly combined. The mixture should have the texture of wet sand
3. Press Into the Pie Pan
Pour the crumb mixture into a 9-inch pie pan.
Use the back of a spoon or a spatula to press the crumbs firmly into the bottom and up the sides of the pan.
Make sure the crust is evenly distributed and compacted to avoid crumbling after baking.
4. Bake or Chill
For a baked crust (best for custard or cream pies): Preheat your oven to 350°F (175°C). Bake the crust for 8-10 minutes, until lightly golden. Let it cool completely before adding the filling.
For a no-bake crust (for chilled pies): Place the crust in the refrigerator for at least 1 hour to firm up before filling.
Tips
Extra Flavor: Add 1/2 teaspoon of cinnamon for a warm, spiced twist.
Firm Crust: Press the crumbs firmly to ensure the crust holds together.
Storage: The prepared crust can be wrapped tightly and stored in the refrigerator for up to 2 days before use.




Leave a Reply